Projects Without Microcontroller Blogs
How to Make an Automatic Light Flasher for Emergencies or Bicycle
An automatic light flasher is a device that turns on and off a light at regular intervals. This can be useful for a variety of purposes, such as signaling for help in an emergency or making yourself more visible while riding a bicycle at night.
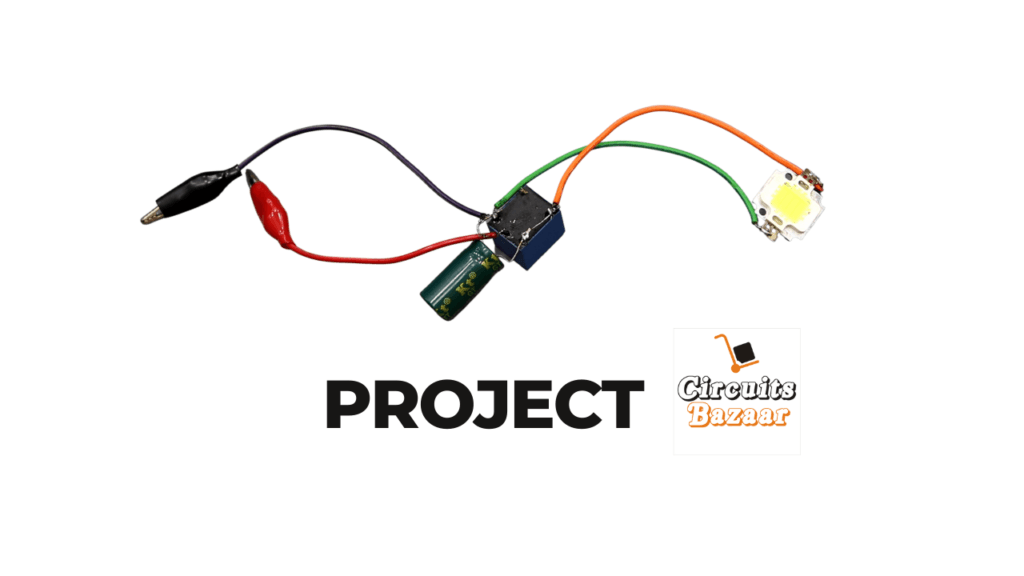
In this Article, I will show you how to make an automatic light flasher using a few simple components. The components you will need are:
12V relay
High power High wattt LED
2200uF capacitor
Crocodile pins
12V battery
Once you have gathered your materials, you can follow these steps to make your light flasher.
Circuits Diagram:-

Video Demonstration:-
Connect the positive terminal of the battery to the NO (normally open) contact of the relay.
Connect the negative terminal of the battery to the COM (common) contact of the relay.
Connect the LED to the NC (normally closed) contact of the relay.
Connect the capacitor to the Both the Realy pins on the both sides of the common pins.
Use the crocodile pins to connect the power supply to the relay and LED.
Now that your light flasher is connected, you can test it by turning on the battery. The LED should flash on and off at regular intervals.
The frequency of the flashing can be adjusted by changing the value of the capacitor. A larger capacitor will result in a slower flashing speed.
You can also add a sensor to your light flasher so that it only turns on in low-light conditions. This can be done by connecting the sensor to the input of the relay.
With this simple circuit, you can make an automatic light flasher that is perfect for emergencies or for use on a bicycle. This project students can try in schools.
Here are some additional tips for making your light flasher:
Use a high power LED to make sure that the light is visible at a distance.
Use a large capacitor to slow down the flashing speed.
Add a sensor to the light flasher so that it only turns on in low-light conditions.
Now fit all the component in an enclosure so that there would not be any loose fitting.

